

On Saturday, we're having a birthday party for me and Eli--just a simple barbecue at our house with a few of his baby friends, and a few of my friends too. I decided to go for a Very Hungry Caterpillar theme, because I thought it would be fun! And I can just have a few "caterpillar" touches, and the rest can be fun, bright colours. I didn't want it to be too baby party themed, since it's also my party.
Here are the invites I gave out to Elijah's little friends:

I designed the party invitations ages ago, and decided yesterday that I wanted to make some cute envelopes to go with them before I handed them out.

I loved that the invitations were all tucked in to an envelope with a cute pattern....and I loved the fact that these super cute envelopes and invitations were FREE! Here's how you can make your very own cute, patterned envelopes!
1. Print a pattern of your choice onto a large sheet of paper. (A normal letter size wasn't quite big enough for mine).
2. Lay the invitation on the white side of the paper, and draw your template-- A rectangle in the middle (the "pocket"), a triangle to fold in on both short sides, and two smaller rectangles above and below the two long sides.


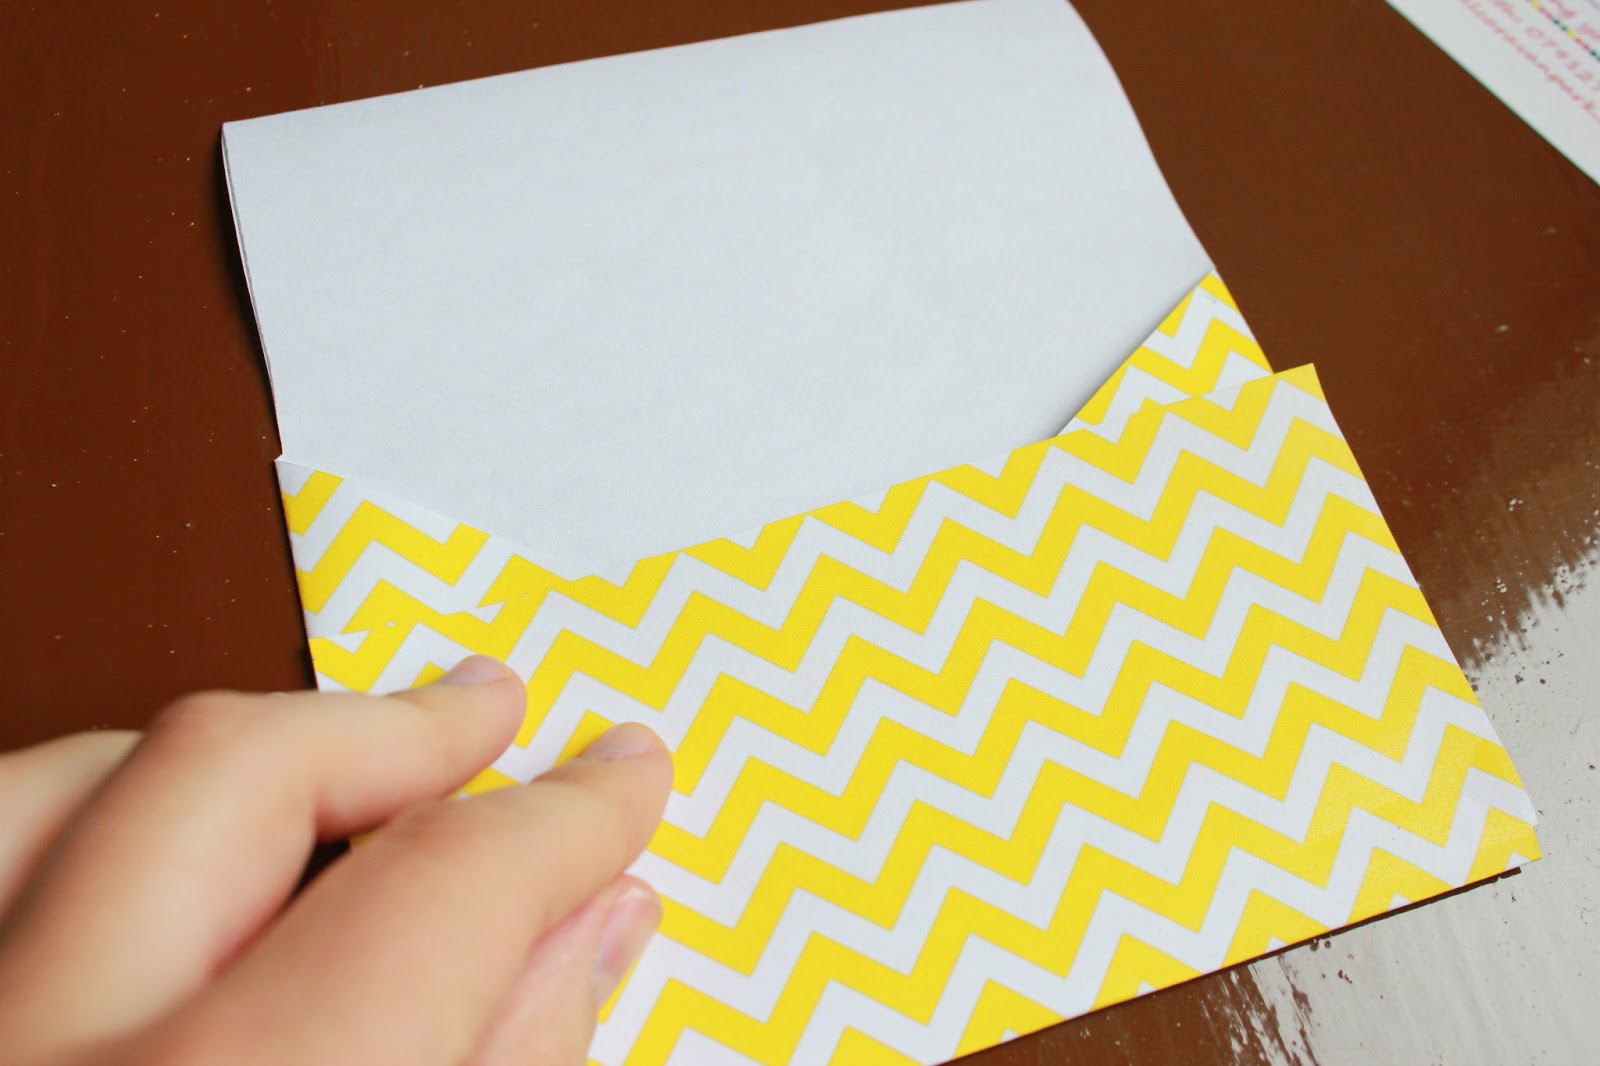
6. Using a glue stick, put a little glue where you will secure the bottom rectangle.

7. Secure the bottom rectangle like this.


So...what do you do to save money when throwing kiddos birthday parties on a budget? Do you make your own invites/envelopes?
I just saw this! How cute!
ReplyDeleteThanks, mom! :)
ReplyDelete